|
Let's be honest, before our children can speak for themselves, the way the dress them, the way we decorate the nursery before they arrive and the birthday parties we throw are more for us than they are for them. However, I still think is important and I always make sure Elia has fun and enjoys the process just as much as I do specially when I'm working on a new project. Also, Elia is almost 1 and a half years old and because I'm not going to hold my breath until somebody figures out how to slow time, I'm now accepting that's just a fact of life and might as well enjoy the ride. Having fun and making every transition of her life exciting for my little one and our family makes it easier to get over the emotions of watching her grow so fast! Redecorating her room was so much fun! Even tough Elia can't say "Mom I want the neon fuchsia polka dot wallpaper", I wanted her room to represent her in some way. At 16 months, this little lady already has a big personality and that is sweet, bright and expressive. Because I didn't know who my baby was before she was born, when I was pregnant and nesting, I decided to go with neutral and soothing colors for the nursery, gold, beige, brown and very few accents of soft pink tones. As Elia keeps growing and I'm getting to know her, I have been making changes here and there but I knew I wanted to change the theme of her bedroom from soft to bright colors and include some Peruvian accents. As you may know, I was born in Peru and I want to make sure Elia is raised knowing that she is a beautiful mix of Spanish, Peruvian, German and Norwegian roots. Llamas have been trendy for the last couple of years so it was super convenient and easy to find beautiful decorations for her room just about everywhere. My family also spent Christmas with us and my mom had gotten Elia a beautiful Peruvian doll and poncho which now are part of her room decor. I also redid her canopy tent. I gently took all the flowers off the canopy and replaced them with little pom poms I purchased on Amazon. I also pained her toy chest white which created a nice contrast with the Peruvian blanket where her "babies" as she calls her stuffed animals, now sit. You can see the original canopy and wood toy chest here! I have to say the piece I love the most is the "Chismosas" painting. It belonged to my grandmother who recently passed away. I was so lucky to travel to Peru last year and say good bye, I was also lucky that my daughter met her when she was 6 months old and for that I feel truly blessed. When we were at her house, I saw this painting in her dining room and I remember I always liked it. After she passed away, my dad flew back to Madison and surprised me with the painting. I could not have found a better place for it and now Elia has a little piece of her great grandmother in her room. 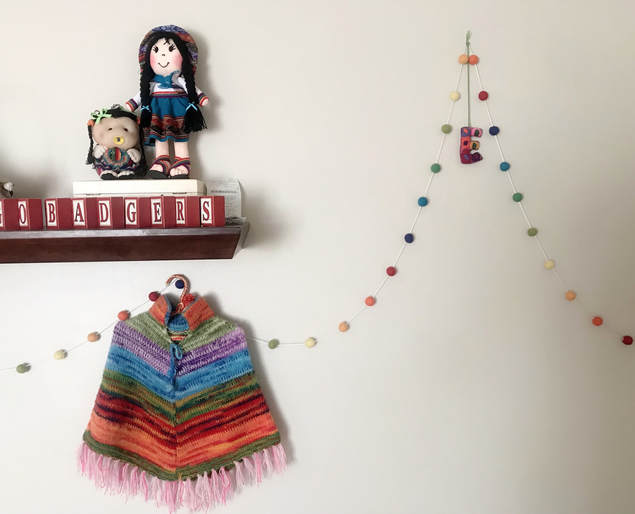 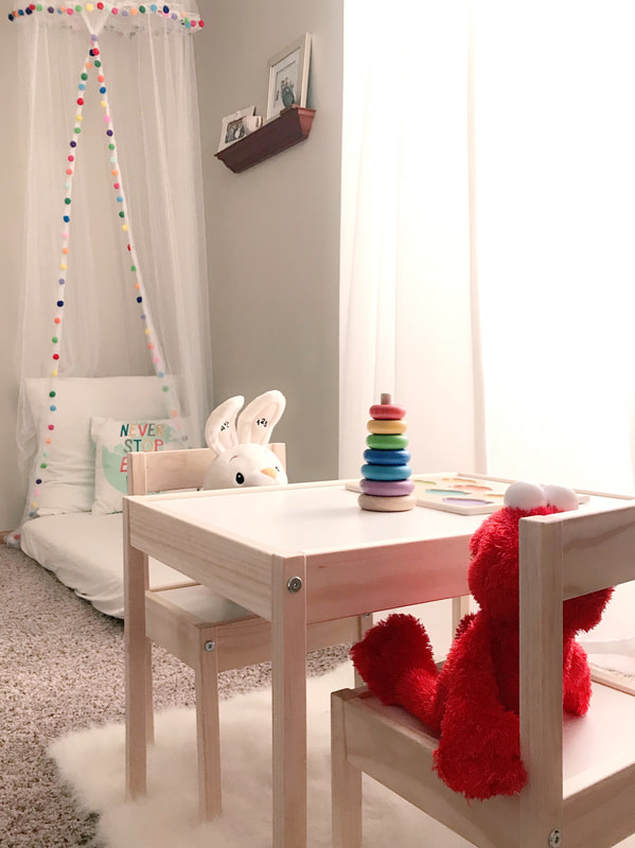 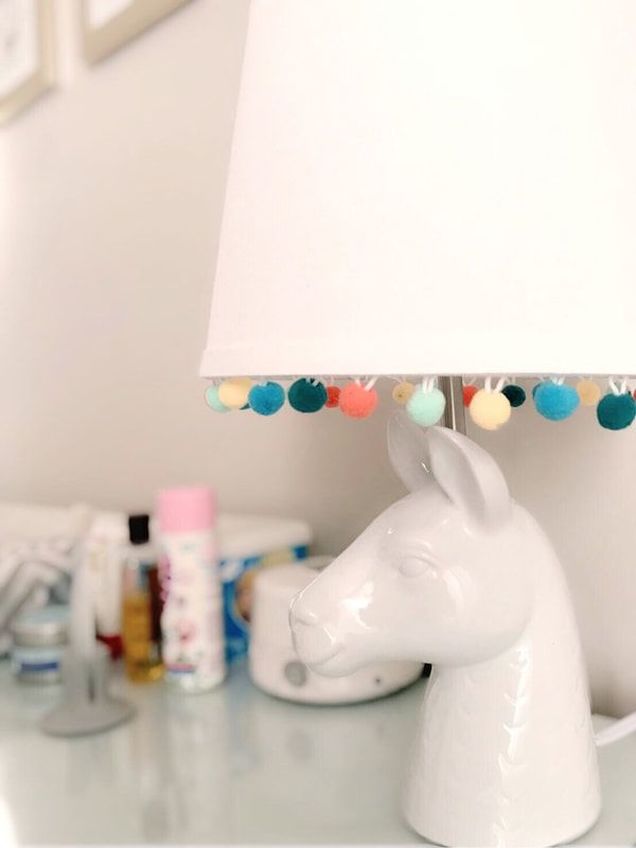 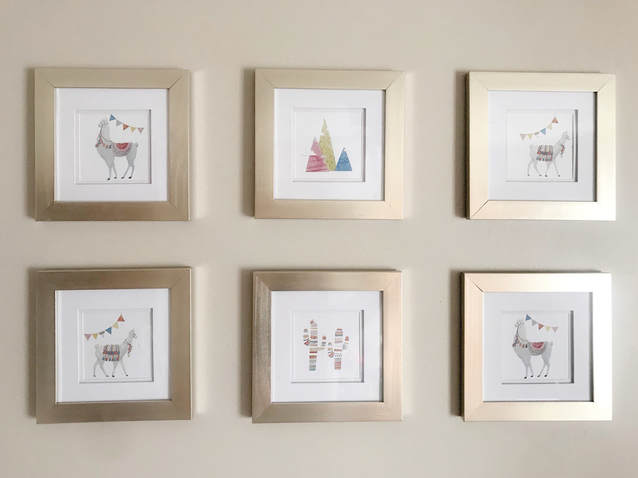 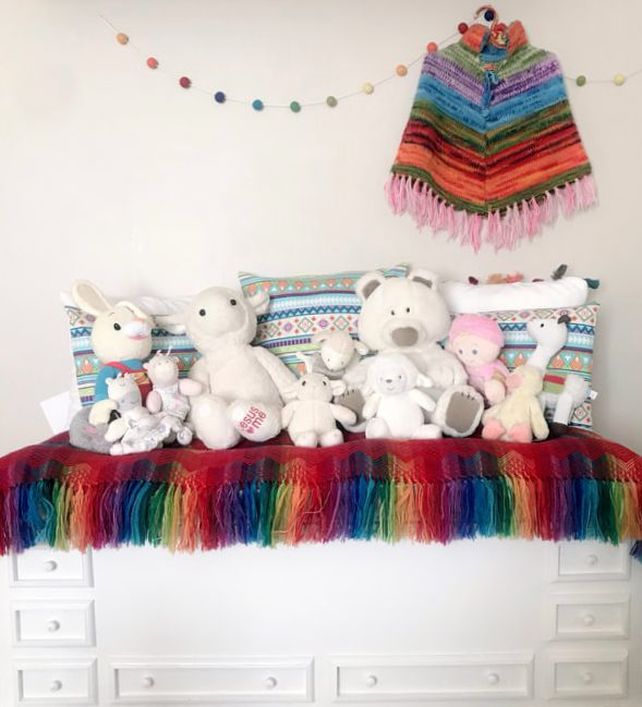 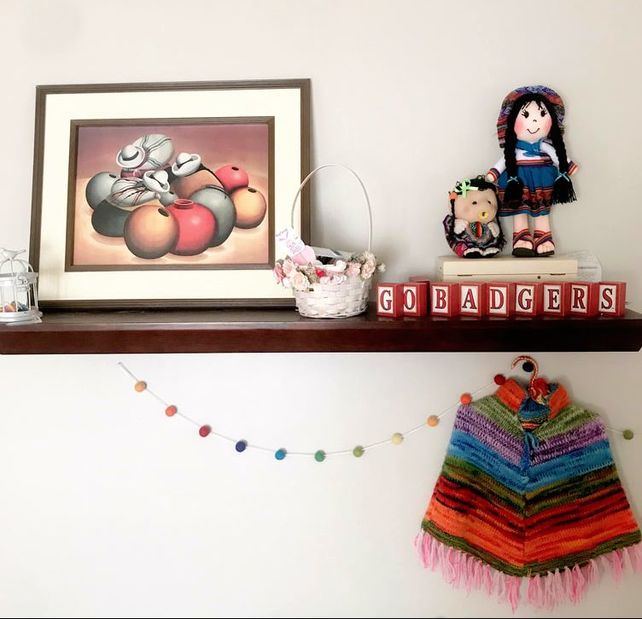  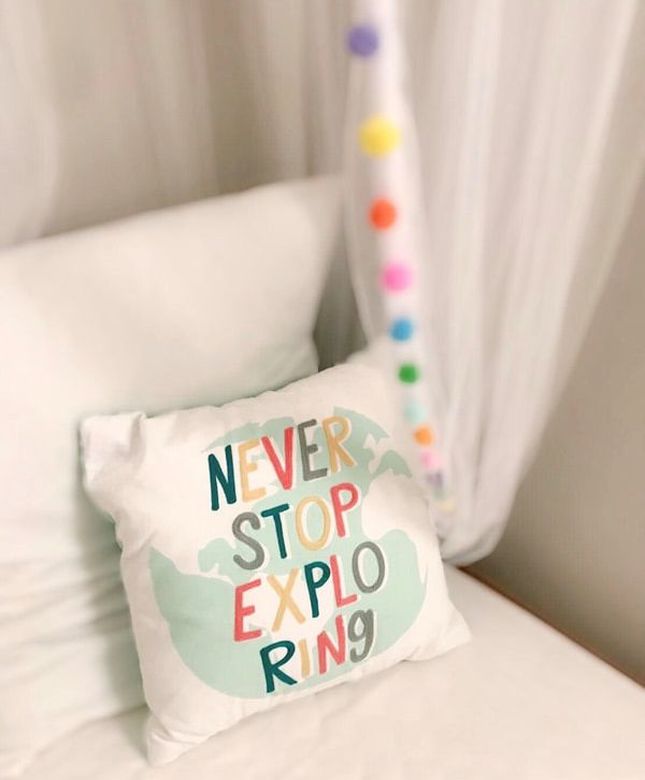 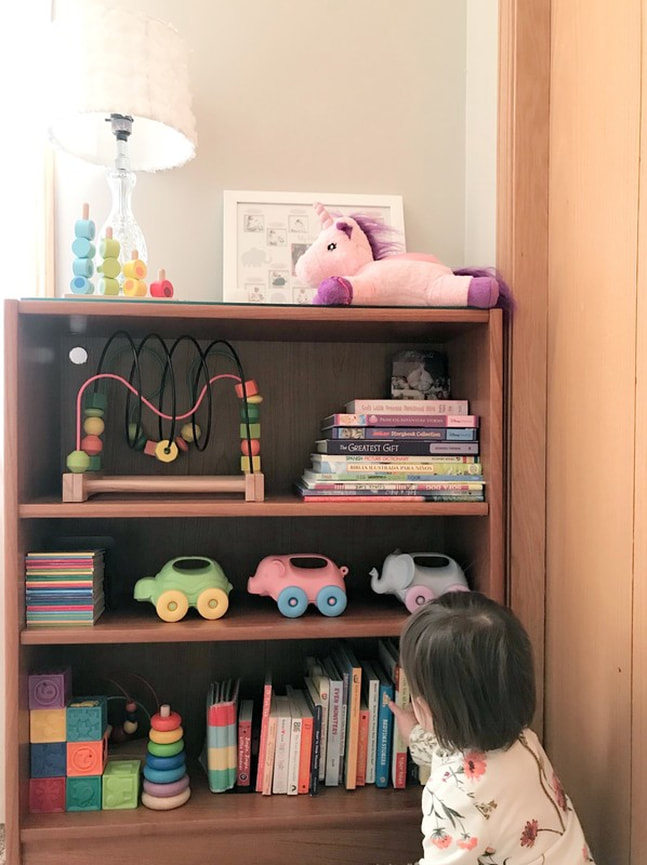 Wool felt balls @ Amazon Canopy @ Amazon Canopy pom poms @ Amazon Llama pictures - print set @ Etsy Never stop exploring - pillow @ Target Llama table lamp @ Target Children's table & chairs @ Ikea Bead roller coaster @ Ikea Animal on wheel toys @ Green Toys Rainbow stacking tower @ Melissa & Doug Wood staking blocks @ Jolly for Kids
2 Comments
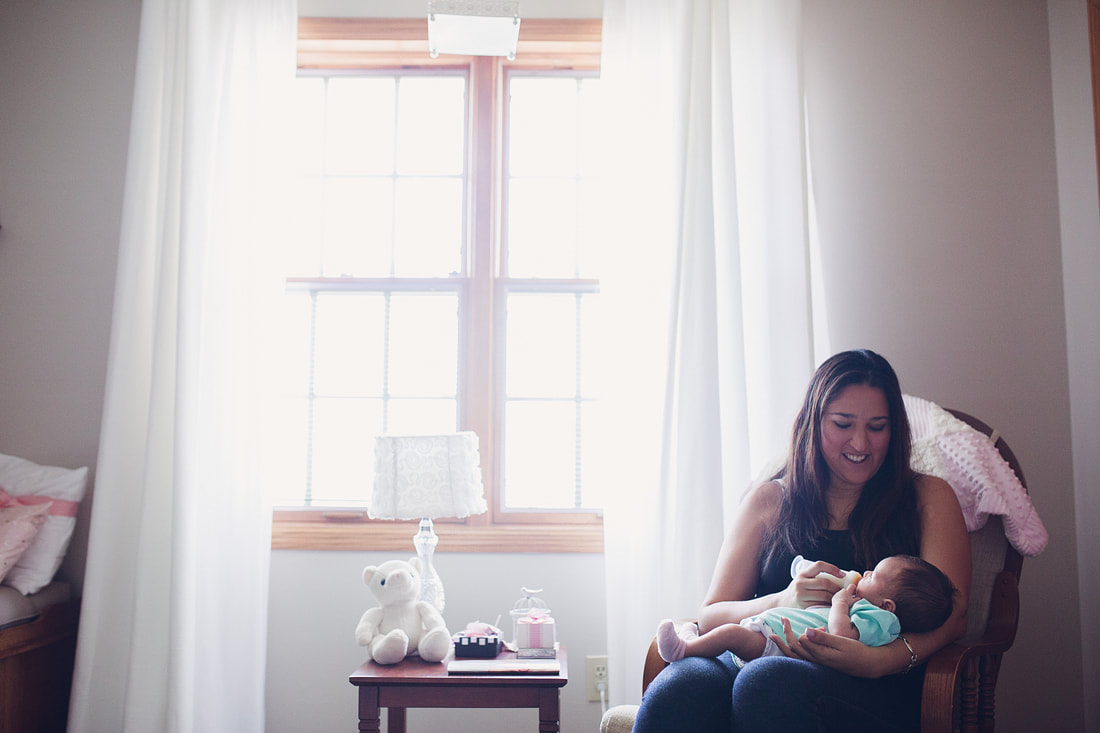
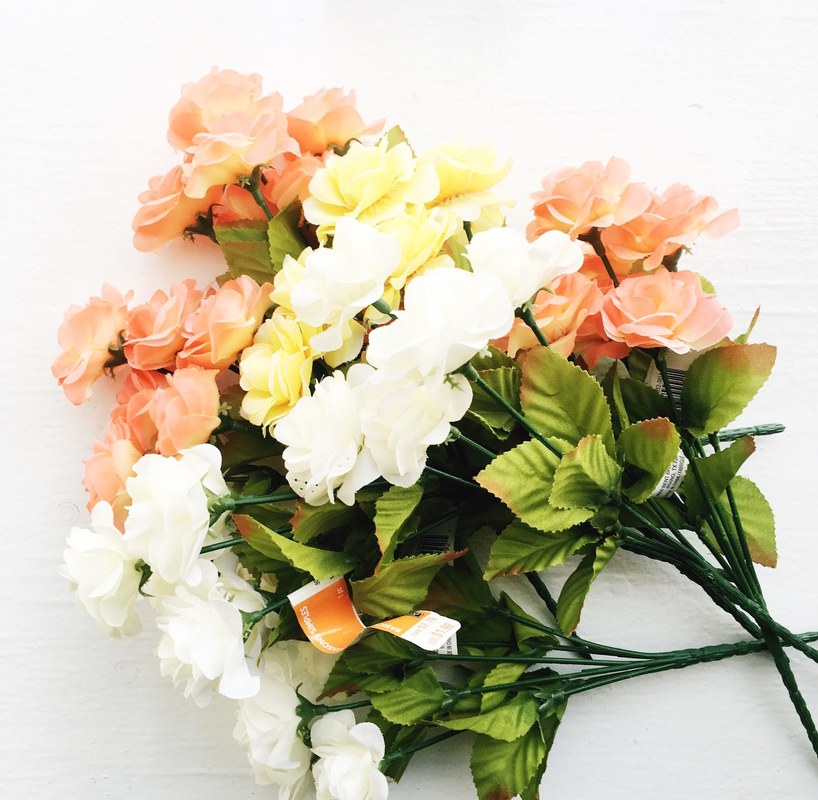
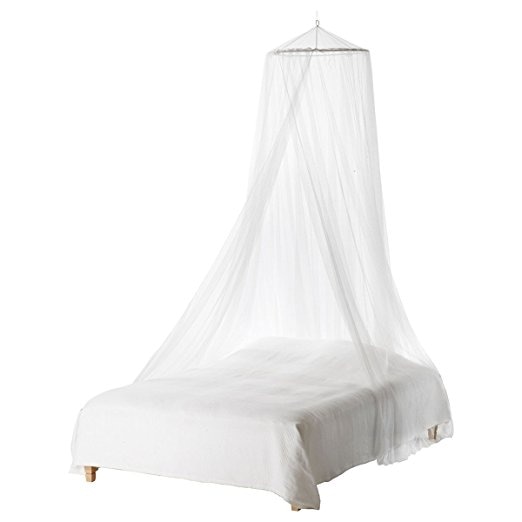
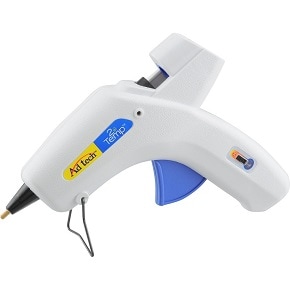
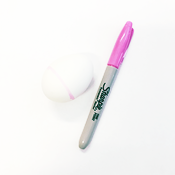
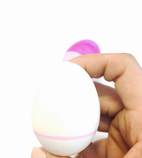
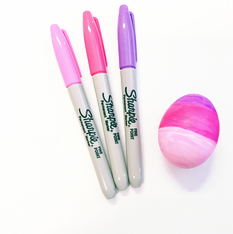
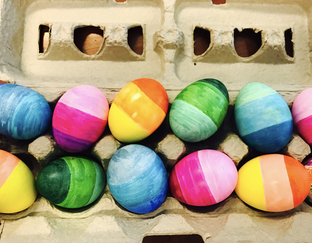
A couple of weeks ago, we visited the Eugster's Farm. We had so much fun at the pumpkin patch, apple orchard and petting zoo. I also took advantage of their beautiful pumpkins and bought some for the house.  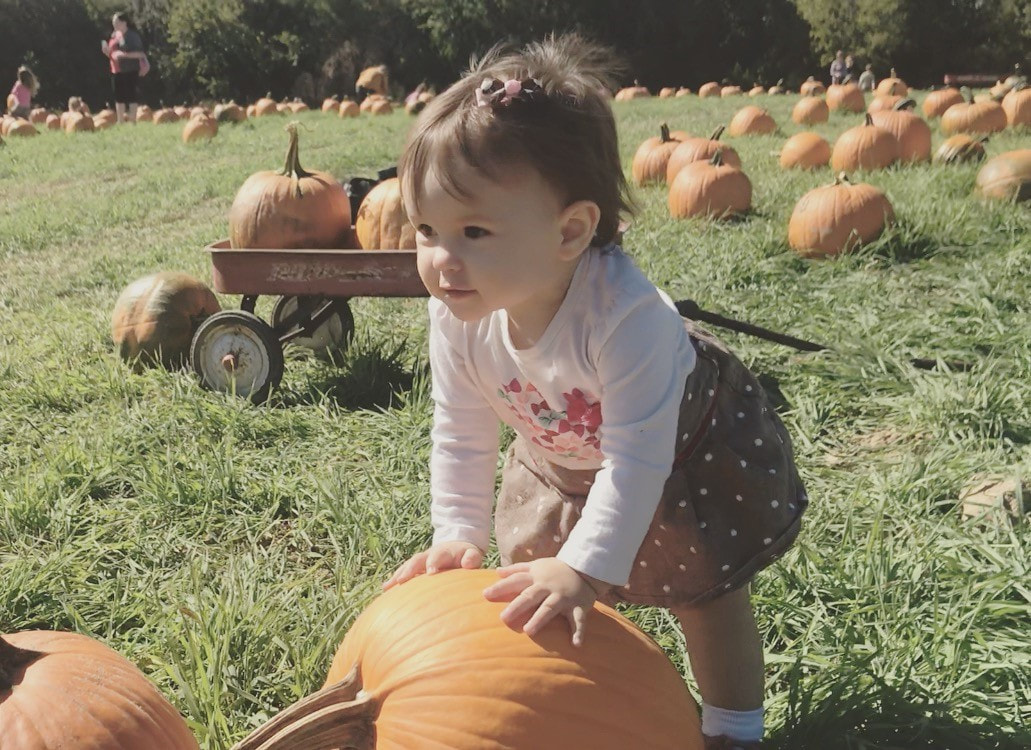 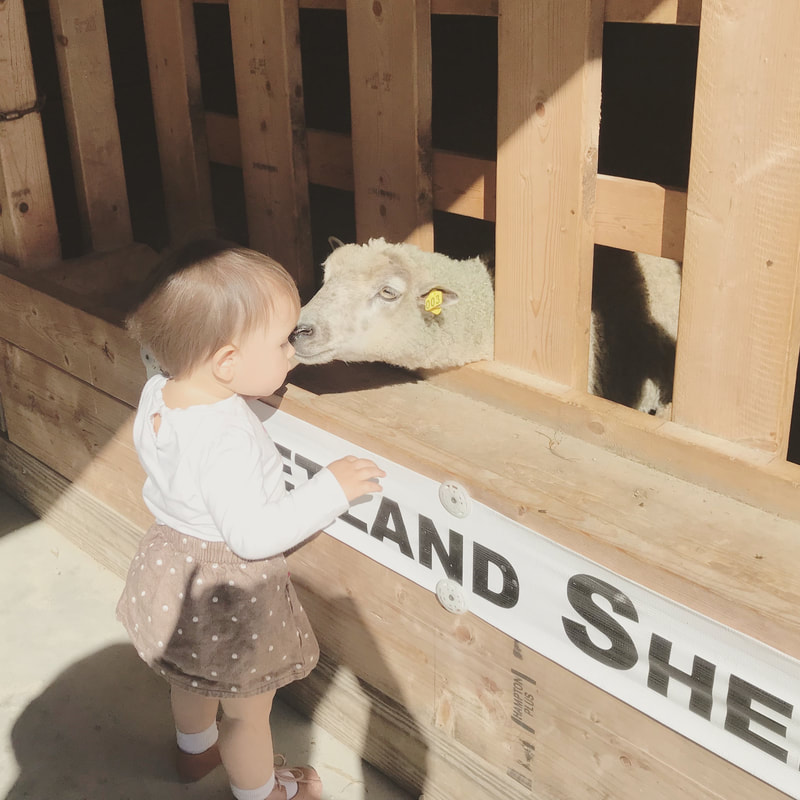 White pumpkins are a perfect white canvas to let your creativity flow! While looking online for inspiration, I came across all kinds of decorations from bedazzle pumpkins to very spooky ones and everything in between. I also loved all the fun ideas for little ones. However, Elia is just 14 months so almost everything she touches ends up in her mouth these days. With my luck, I think I’d rather wait another year than end up in the emergency room with a kid that drank some paint, ate too much glitter or swallowed some beads. 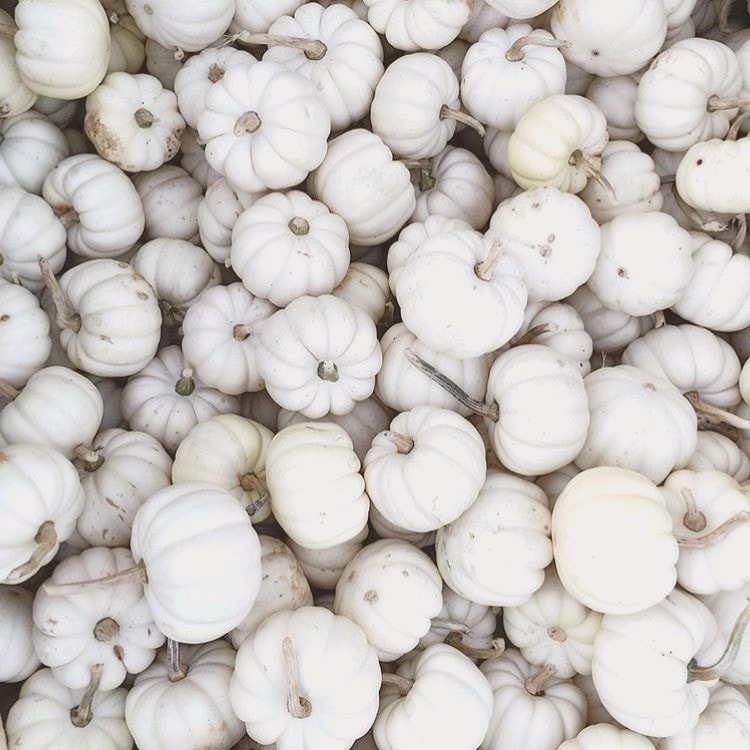 I found some pumpkin doughnuts online and I immediately fell in love with the idea. Again, in order to avoid any accidents, I avoided paint and used Sharpie markers instead. There have so many colors except for white so for the "white glaze" doughnut, I used a chalk white marker. Painting white pumpkins turned out to be a super simple DIY Halloween craft. They dried fast, no spray coat needed and no mess to clean! 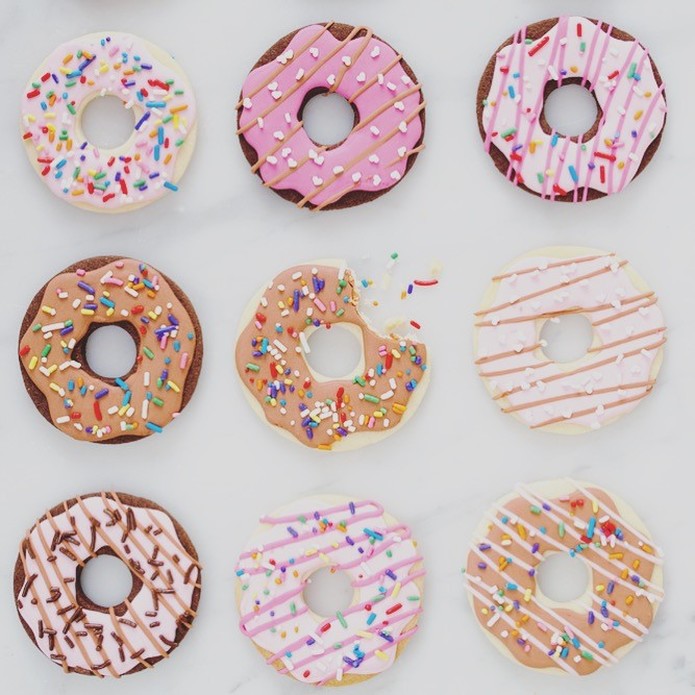 The Inspiration 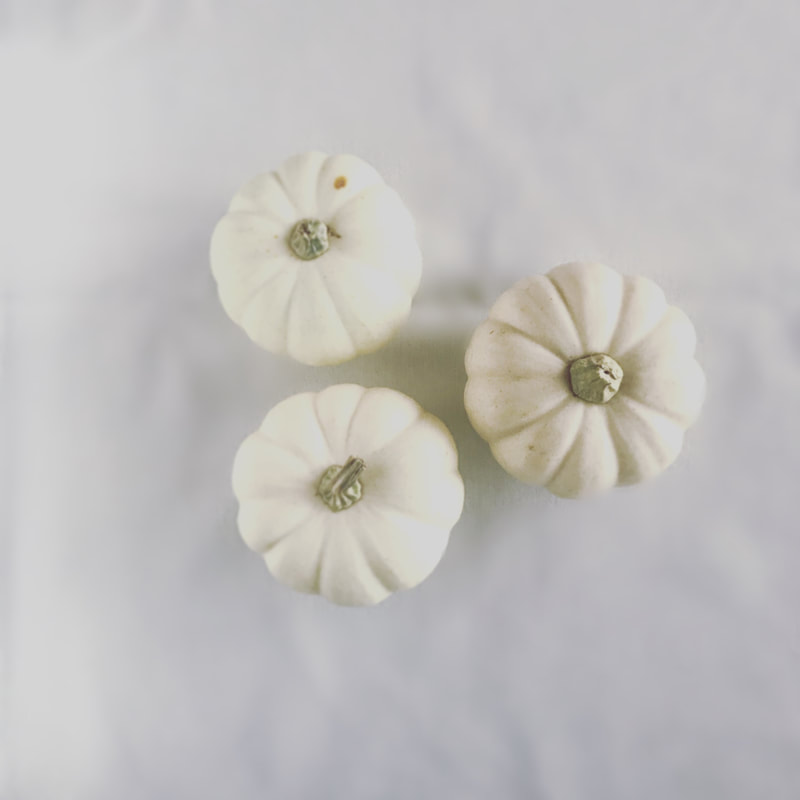 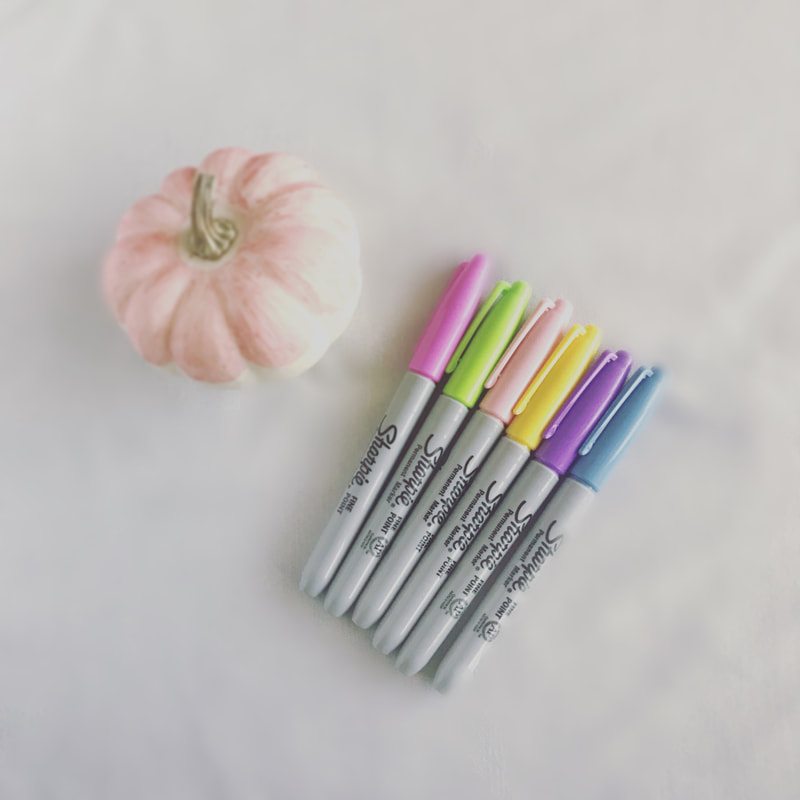 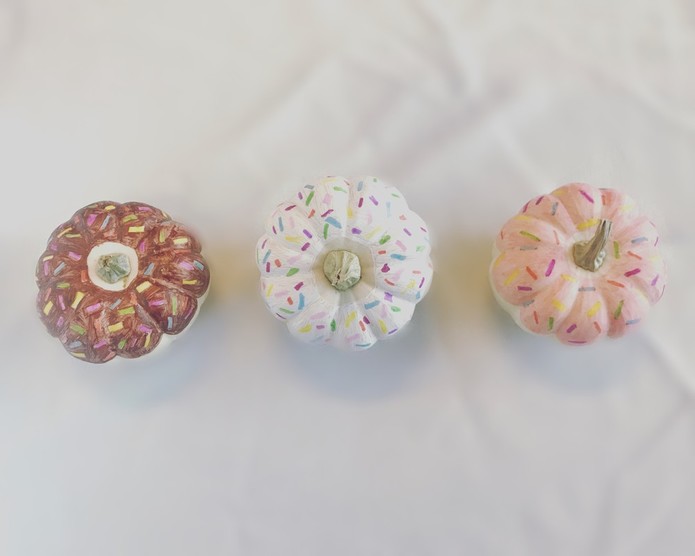 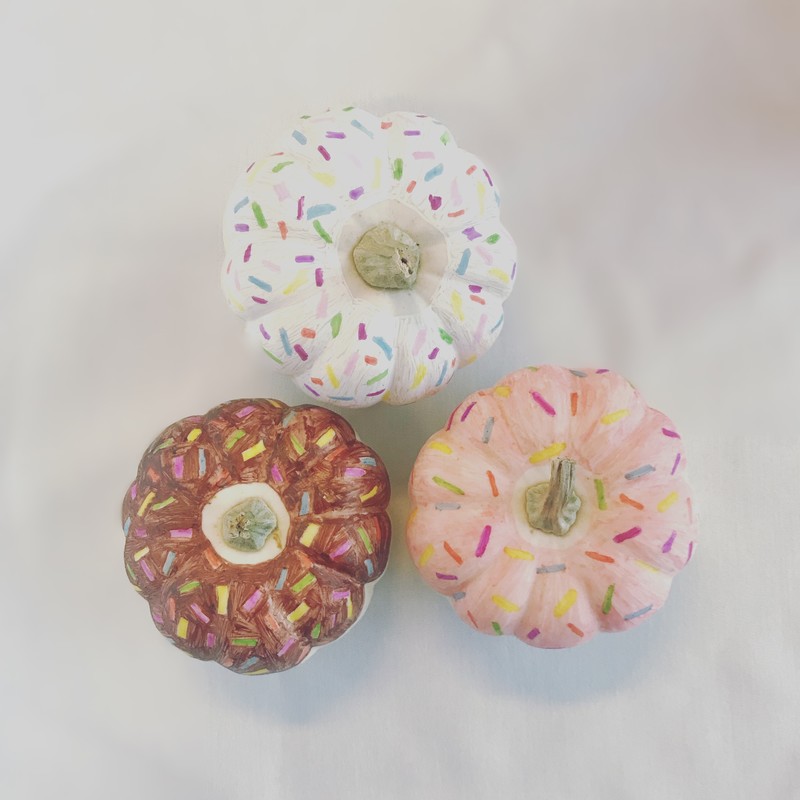 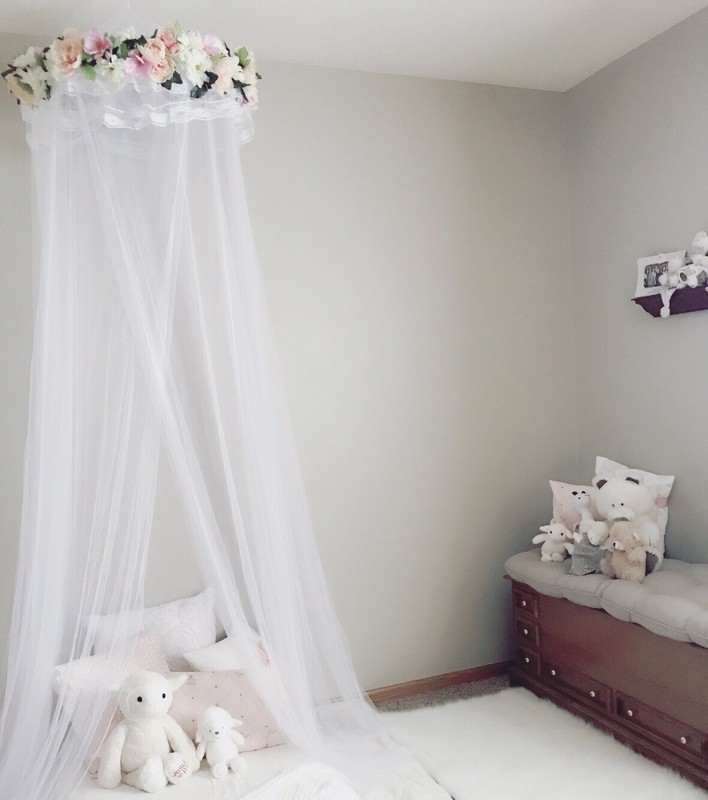 Elia is now 10 months! The girl is sweet as can be but she is also a very active baby! Our plans of transitioning her into a floor bed was supposed to happen when she turned one. However, our fear of her falling out of her crib or our bed had us change our plans. Putting the crib mattress on the floor and making her bedroom a safe place wasn't easy (see Montessori education). But after getting on my hands and knees and carefully inspecting every inch of her room, I finally had a place ready for Elia to sleep, play and be more independent in a controlled freedom environment. I didn't want to spend money on a bed frame because I didn't know if she was going to like this idea, I mean, what if she totally hates it! Also, she is growing so fast that she will transition into a twin bed before I know it. I wanted to decorate the bed without overspending on a frame or head board so I quickly turned to Pinterest for ideas. I got this one from a children's teepee. It was a lace teepee that had flowers on top. Since I didn't have much time to build Elia her own lace teepee, I decided to buy a canopy tent instead. I love the look, super simple yet cute!. Here is what you will need: - Mosquito canopy tent. I got mine at Amazon here - Assorted faux flowers (I bought them at the dollar store) - Hot glue and glue sticks. You can get this at Hobby Lobby or any craft store. Take all the flowers and green leaves from the stem and organize them by color. Then, following a sequence, glue each flower and leave onto the top of the canopy. Did I forget to mention that this is a $20 project?! $10 for the flowers and $10 for the tent! 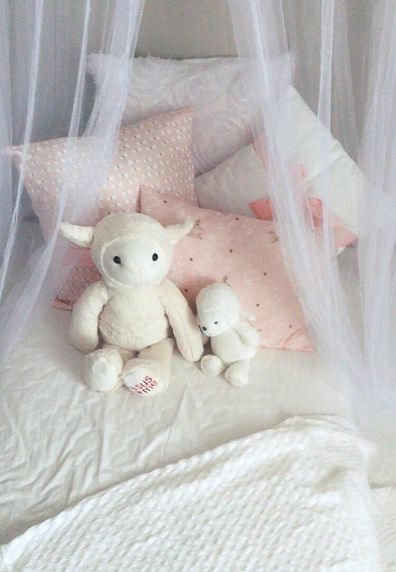  This was Elia's first Easter and it was filled with lovely memories! From picking out an Easter outfit (dress, tights, shoes and even a beret) to a wonderful easter service on Sunday followed by a yummy Easter brunch, we had fun all weekend long! On Saturday, after I hard boiled the eggs, I knew I had to make simple decorations. 1. Time is a hot commodity these days. I knew I had to decorate 12 eggs in not more than one hour. 2. I had to move quickly! Elia was not going to wait for those eggs to be ready before grabbing them and putting them in her mouth and break them or eat them. 3. Elia's attention spam is short. After we finished she was so over the eggs and ready to move on the the next thing! So what to do when you have all these challenges? I decided that my super ambitious ideas to paint with water colors, attempt a time-consuming mandala design or use any glitter would have to wait a few years. Instead I used a 24 pack of bright colorful fast dry Sharpies! We had a lot of fun doing mostly hombre design... 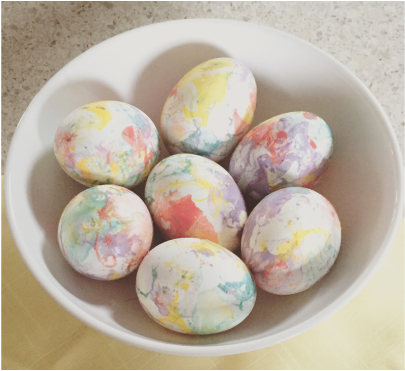 With a little abstract painting inspiration from Jackson Pollock and nail polish, I was able to decorate my eggs just in time for Easter Sunday. This year's Easter eggs were messy but fun! I cannot wait to continue this special tradition with my little one next spring! Here are the supplies and steps: 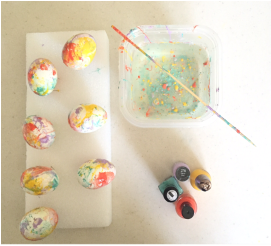 Supplies: - Room temp hard boiled - Disposable plastic container - Nail polish - any color combination - Rubber gloves - Stir stick - Pins - Room temp water - Styrofoam - size depends on how many eggs you have Steps: 1. Fill plastic container 3/4 full with room temperature water. *If the water is too cold the polish will sink. 2. Add a few drops of nail polish. The more drops of polish, the more covered the egg will get. 3. Lightly stir with stick to make a "marble" look in water. 4. Dip the egg under the water and swirl. Wear rubber gloves. 5. Dry the eggs. I took a piece of styrofoam and used pins to make a drying rack. 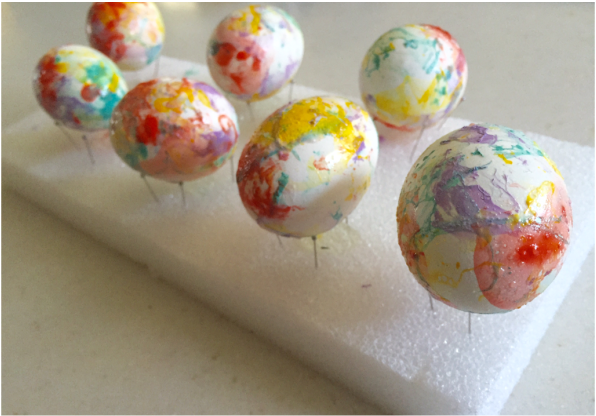 Happy Easter! Felices Pascuas!
If you are not creative or "artsy" there are plenty of blogs, magazines and Pinterest ideas for Easter egg decorations. I spend a few minutes online collecting pictures that I would copy or use as an inspiration for my Easter eggs. Here are my favorite ones:  * http://queenbee1924.tumblr.com/post/81582887683 * http://ana-rosa.tumblr.com/post/83244079988 * http://www.familycircle.com/holiday/easter/ * http://www.apartmenttherapy.com/7-incredibly-lastminute-easytodo-goodlooking-easter-egg-looks-202586?crlt.pid=camp.QndZTYc3cYyM The possibilities are endless! I didn't have much time so I decided that I would draw different designs using a permanent gold sharpie on white eggs. The nice thing about Sharpies is that it dries very fast however if the ink still fresh, you can accidentally create smudges with your fingers so after I practiced with one egg, I started working on the rest of the eggs one side at the time so that my fingers never had to touch a part that has been finished without being completely dried. A few people asked me if I used stencils but I didn't. As you can see some of the designs look like my inspirations. If you don't have a steady hand, a stencil might come in handy! 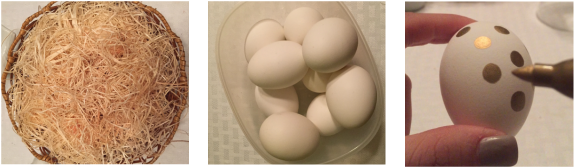 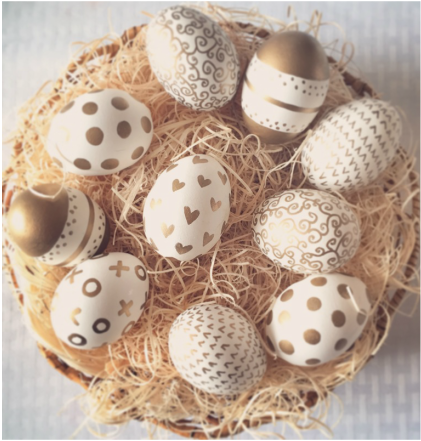 Felices Pascuas! Happy Easter!
|